All our brick textures are meticulously designed to function flawlessly without the need for adjusting any values. This includes all common render engines like corona render, vray, fstorm, octane, redshift, blender cycles, unreal engine, unity or lumion. Essentially, you only need to load your textures into the render engine of your choice, and you will be ready to render. However, you do have the option to adjust the intensity of the height or normal map, as well as the reflectivity of the roughness map. Additionally, each texture includes a grout mask map, which allows you to customize the grout color.


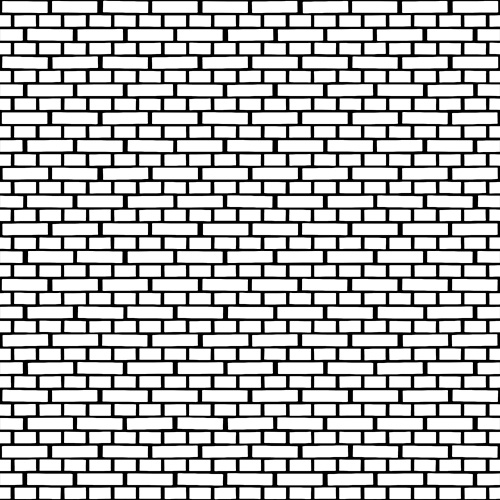
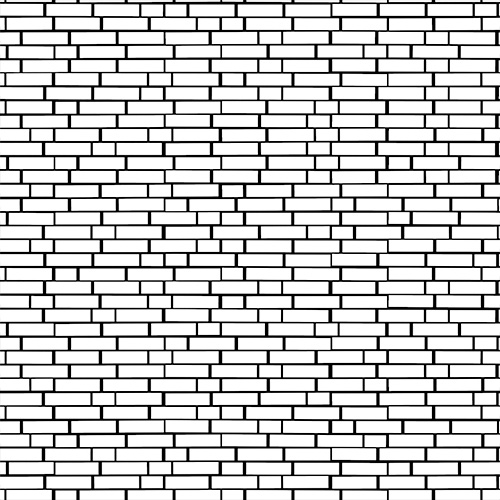
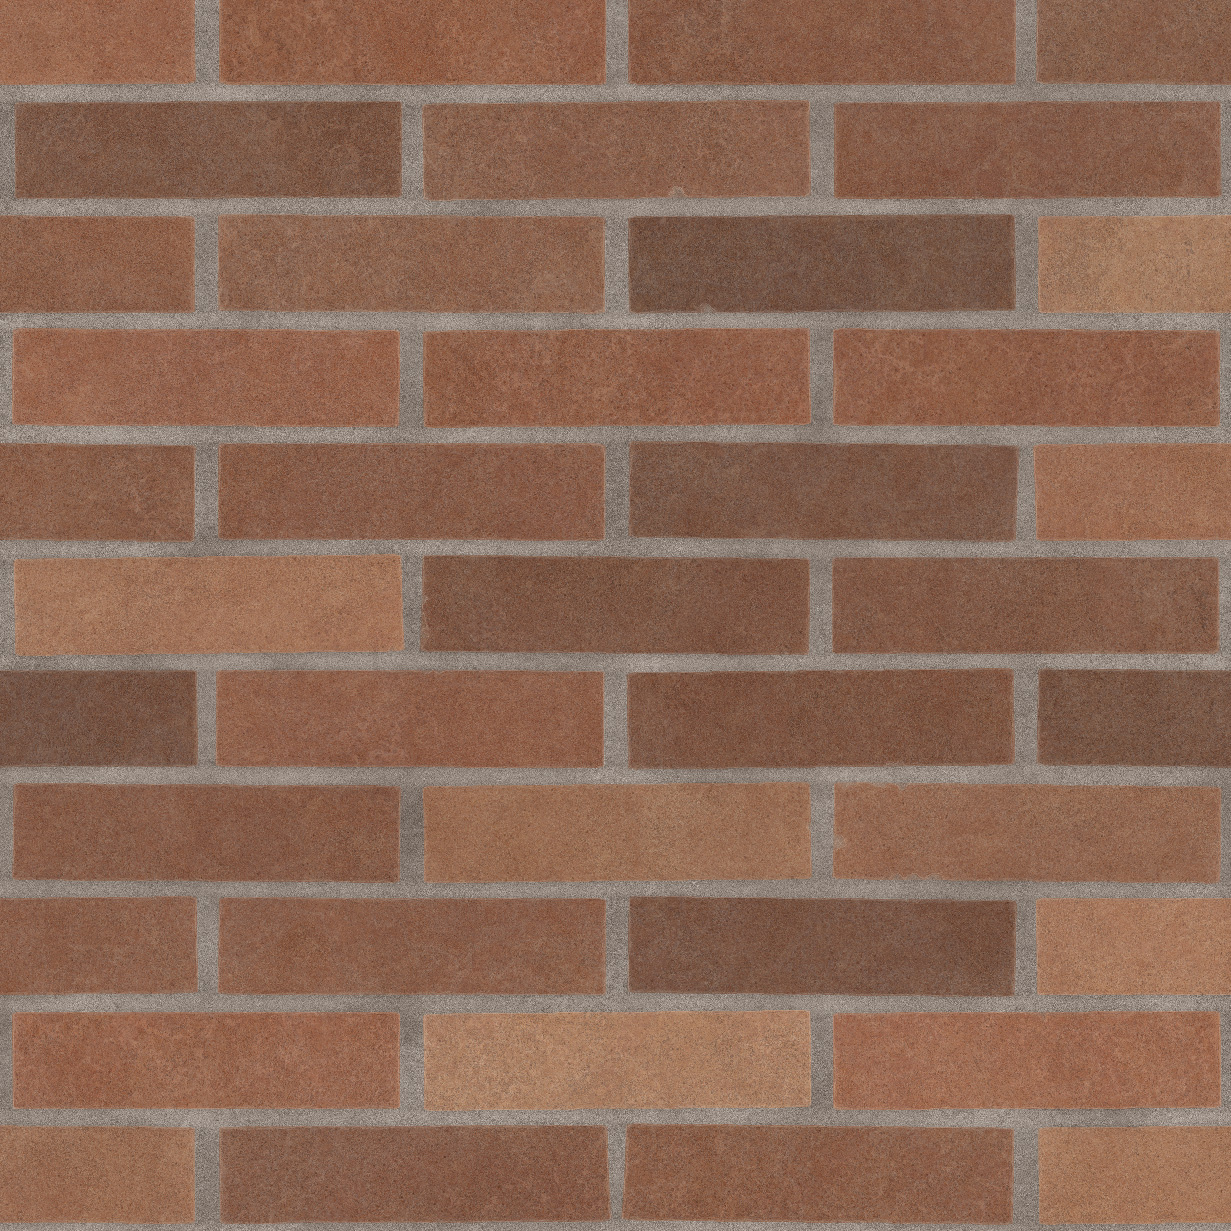
This is the base color information. No adjustments required. If needed, you can change the color of the mortar separately from the brick color by using the grout mask.
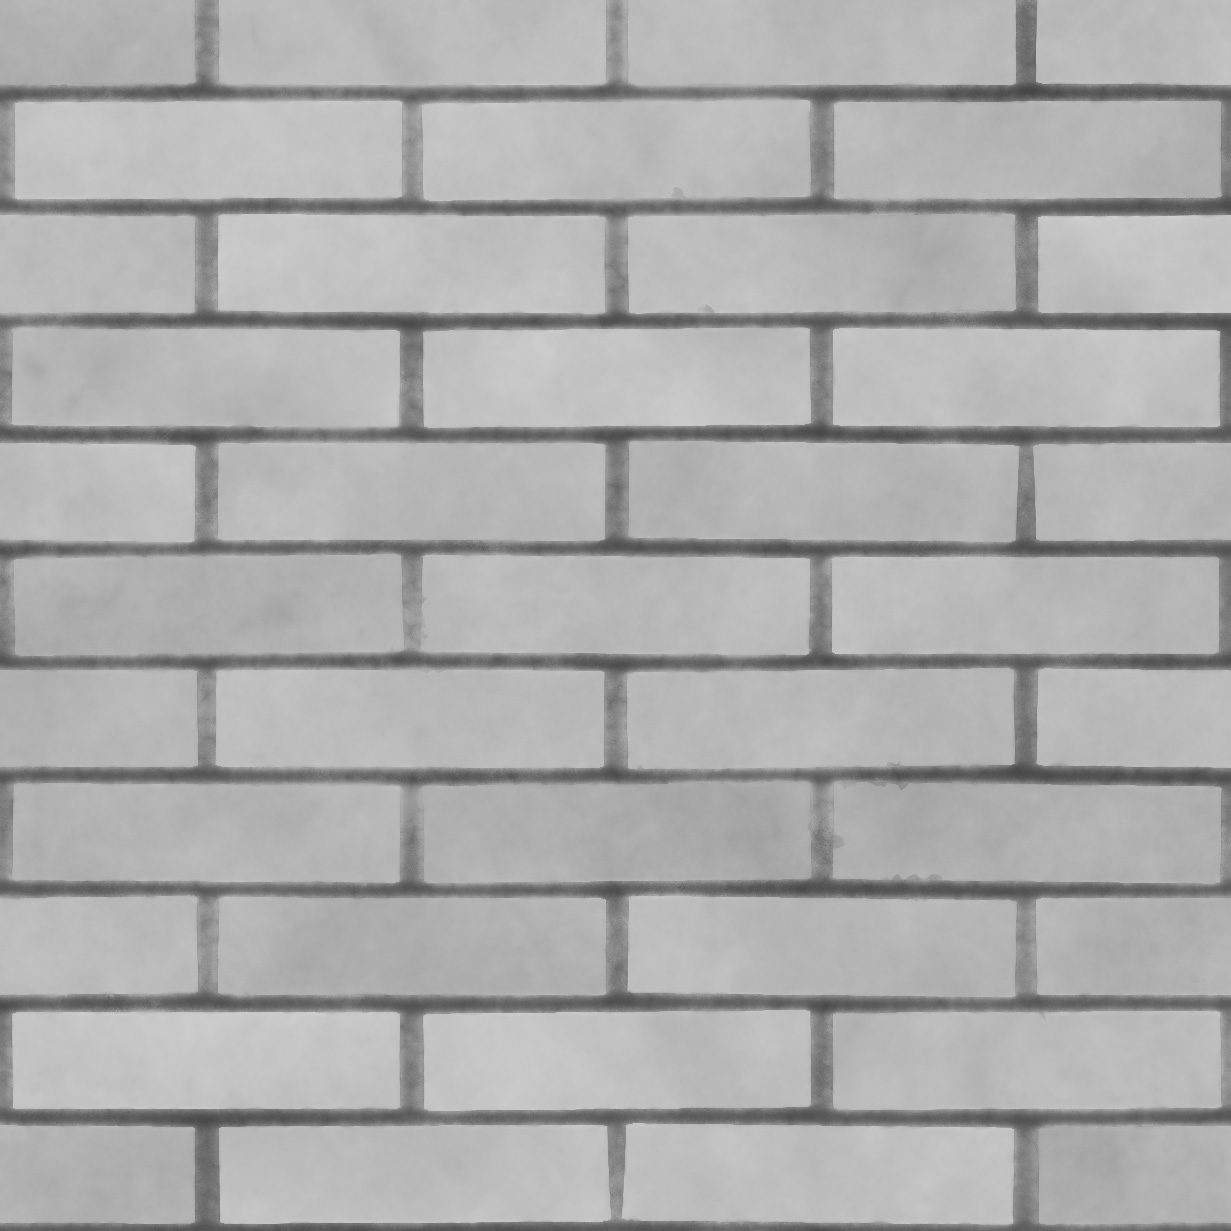
This map stores the height information for each brick. You should use both negative and positive values when setting up the height map. Typically, we suggest using 3-5 cm for the positive value and 1-2 cm for the negative value. However, there is no fixed rule; it also depends on the viewing distance.
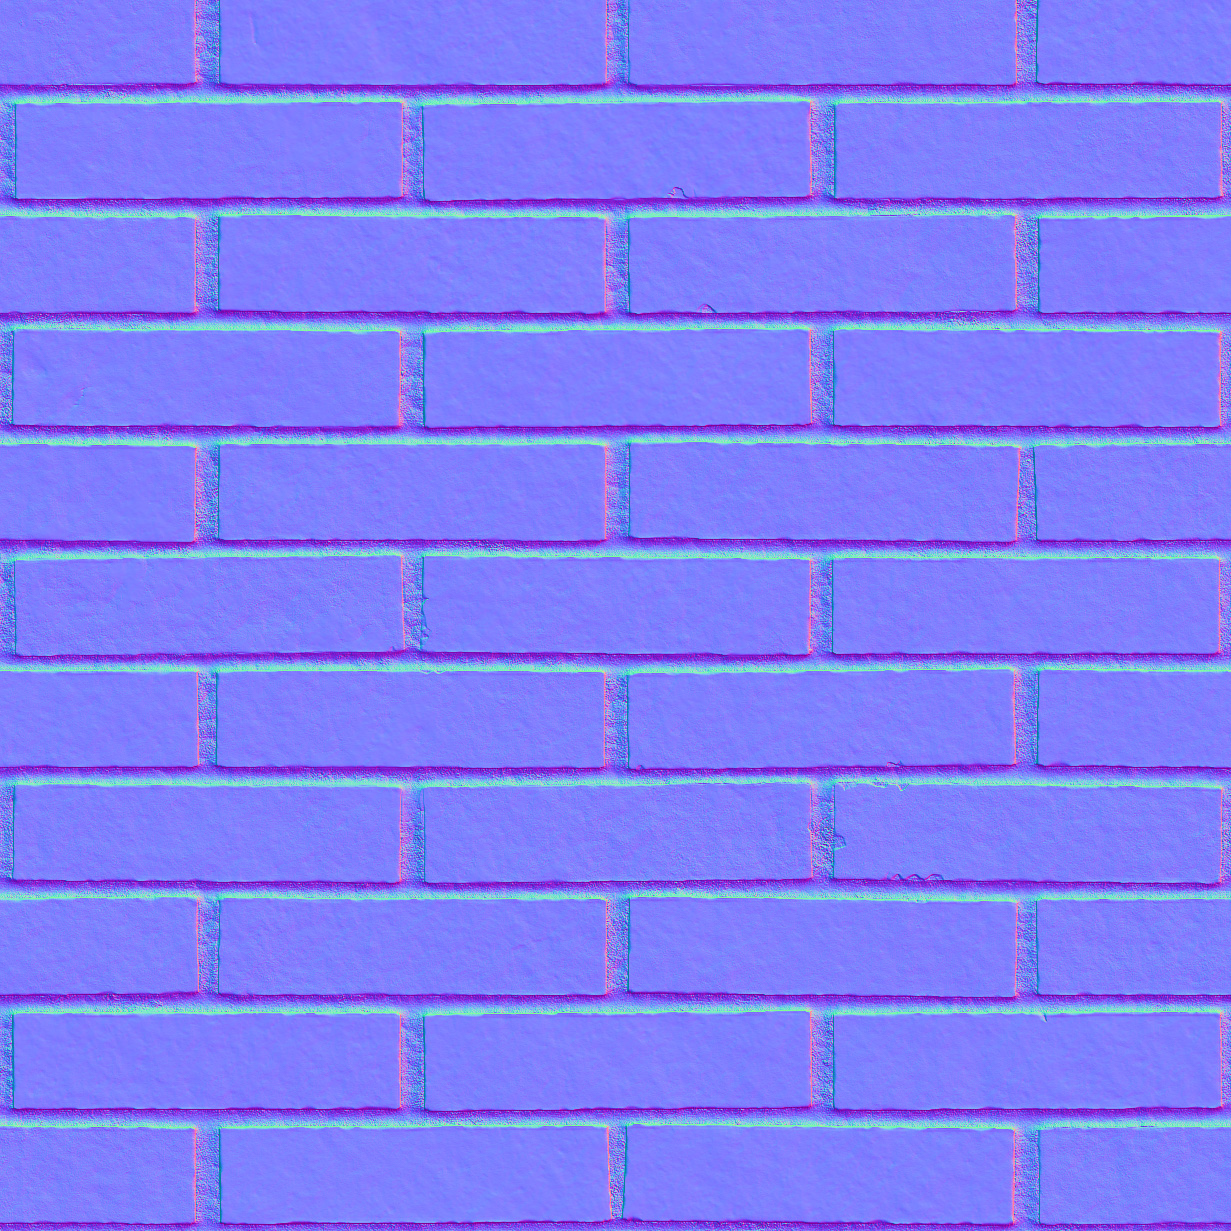
In contrast to the height map, a normal map encodes surface normals to simulate fine details and lighting variations without altering the actual geometry. If you want more surface details you can increase the normal map value.
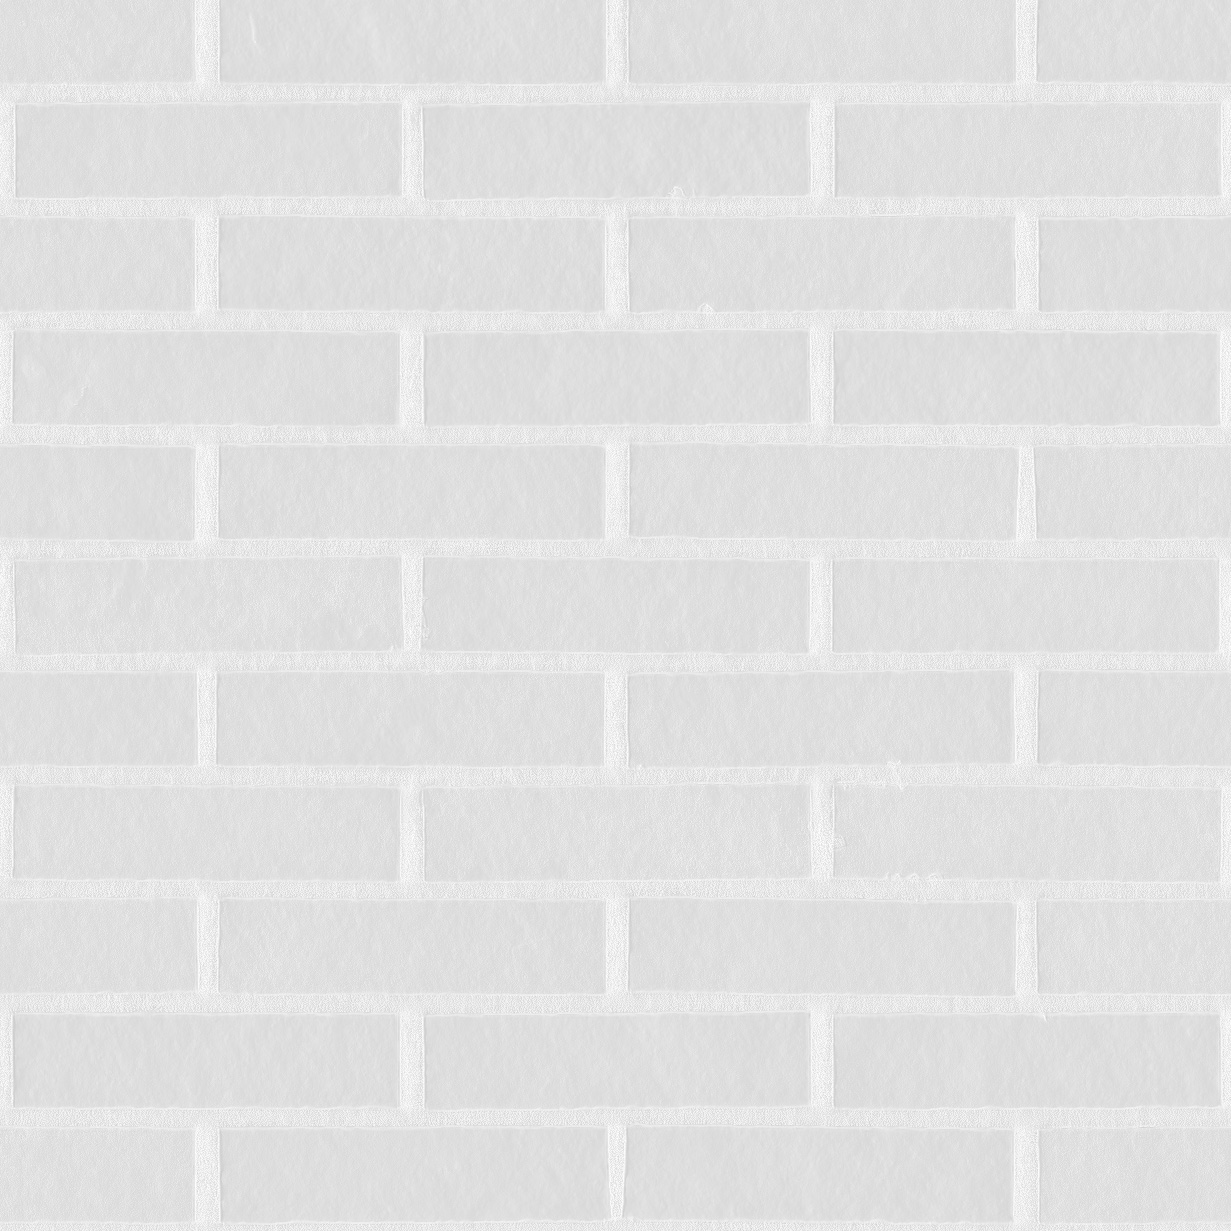
The grayscale values on the map will control the surface's smoothness or roughness, where darker areas represent smoother surfaces and lighter areas indicate rougher surfaces, affecting how light interacts with the material.
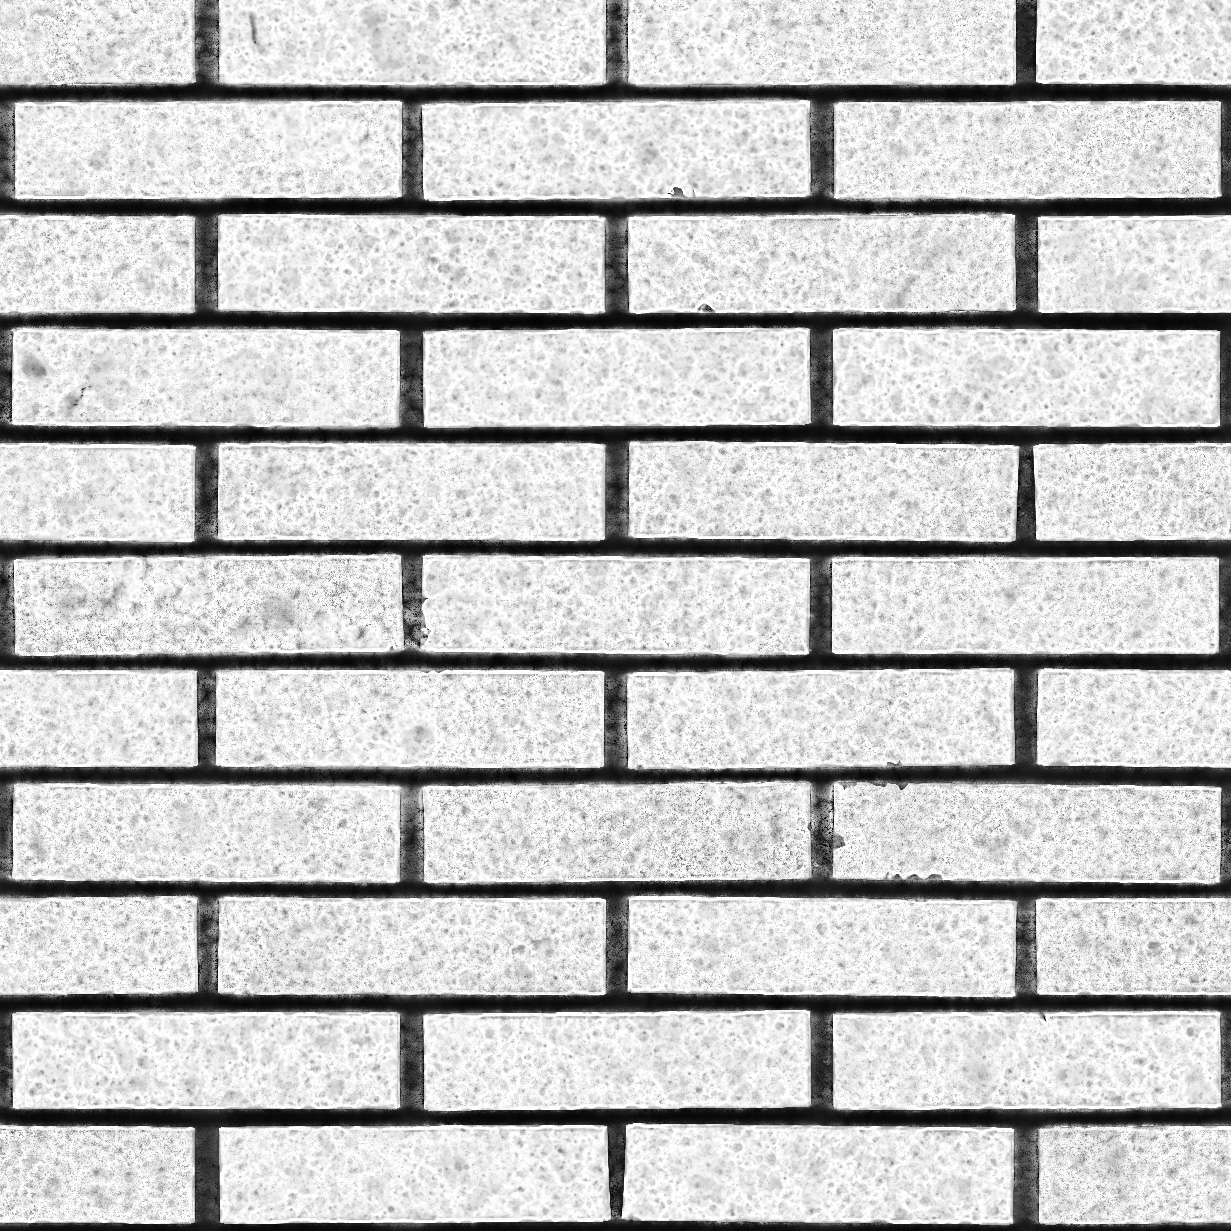
All our bricks are designed to work without an ambient occlusion map.You can use it if you want to darken crevices, folds, and areas where light is naturally occluded, thereby adding depth and shadow details to the surface. You can multiply it over the base color map.
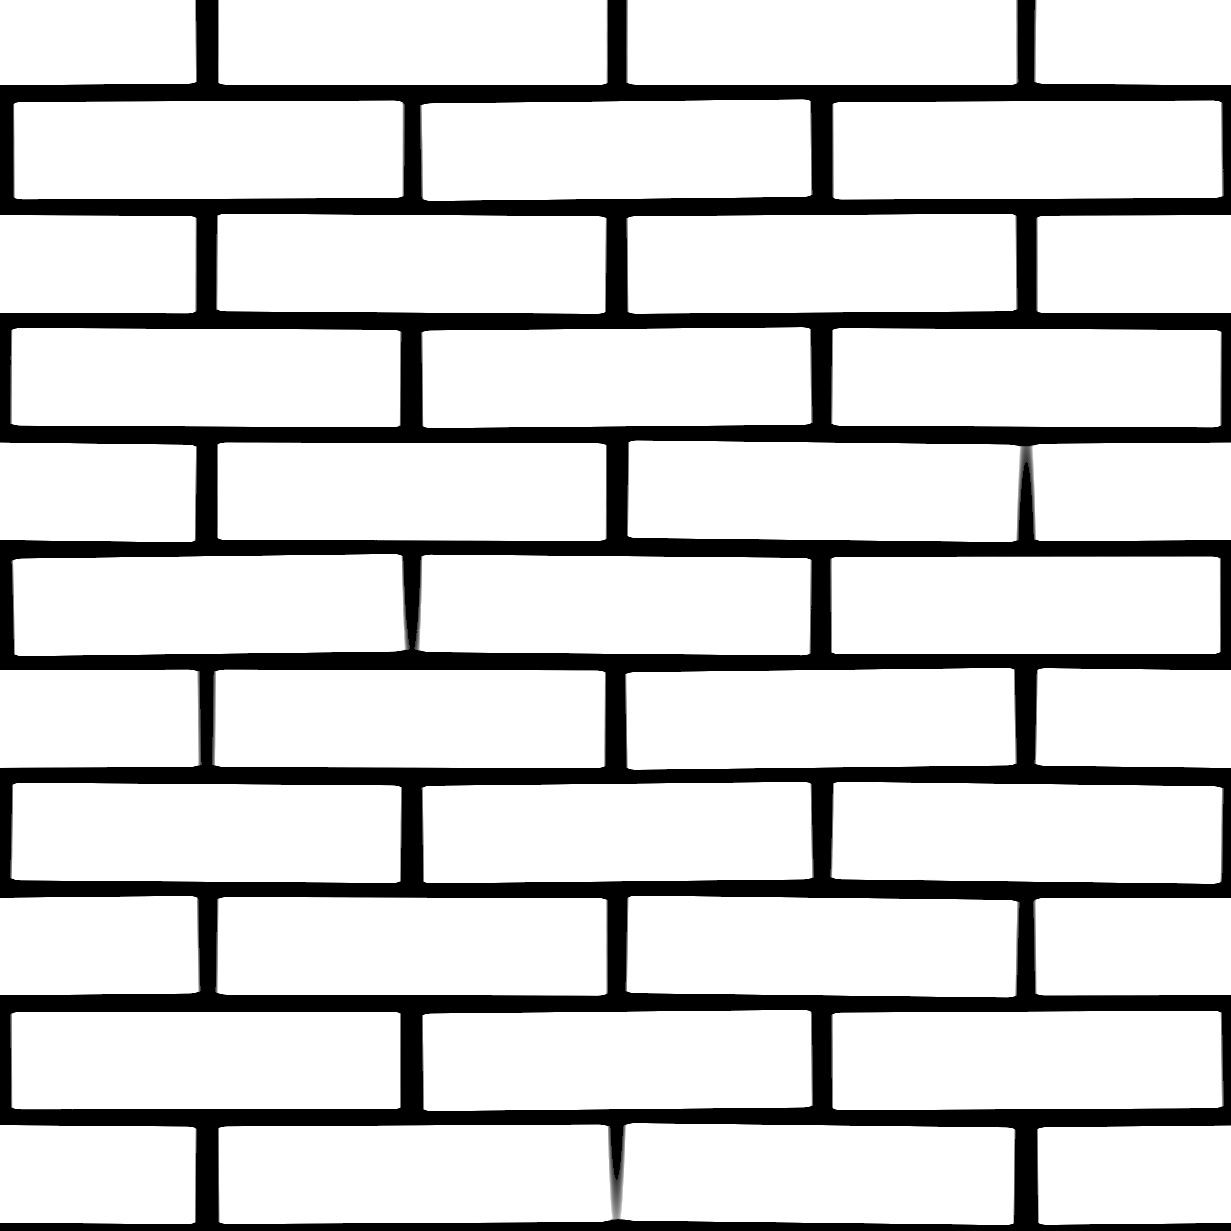
The grout mask is not part of the material but acts as a selector that you can use in Photoshop to change the color of the mortar or the bricks separately.